Recording Settings

Select Menu → Recording
Recording Settings - When Storage Mode is Internal (Rayfin)
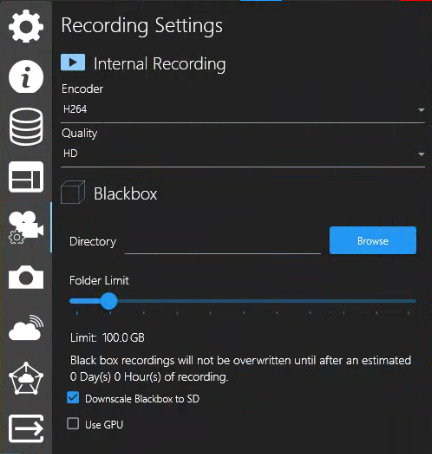 | Encoder: H265 | H264 Quality: 4K | HD Menu → Recording Settings → Blackbox
Blackbox recordings will not be overwritten until after an estimated # Day(s) # Hour(s) of recording. The Days and Hours values will be based on the size allocated to your Blackbox folder.
|
|---|
Recording Settings - When Storage Mode is Topside (SubC [Application] System)
 | Select a Microphone before configuring any Channels if you wish to Embed Audio &/or Save audio as a separate file. |
|---|---|
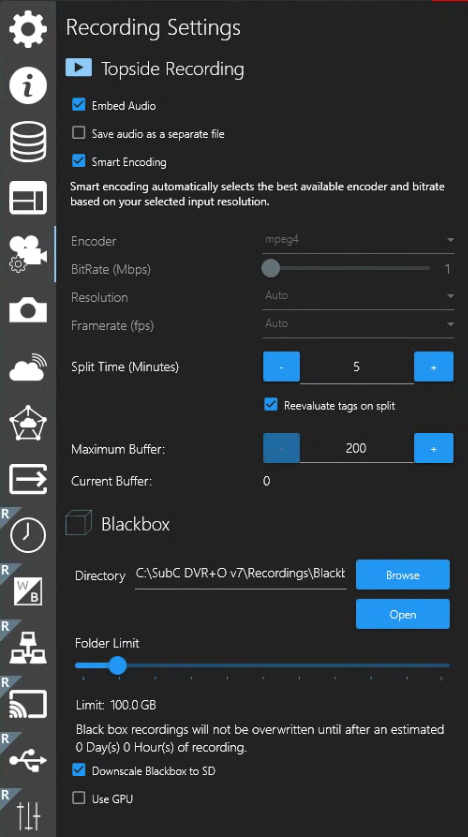 | Embed Audio - Select if you wish to include audio narration with your video recording. Option to embed audio and/or save it as a separate mp3 file. Feature auto-disables when no audio input is selected and does not record/embed audio. Save audio as a separate file - Select if you wish to have audio recorded to a separate .mp3 file. Default is to save both audio & video into a single file (per active Channel). Smart Encoding - Automatically selects the best available encoder and bitrate based on your selected input resolution. When Smart Encoding is activated, the Encoder. Bitrate (Mbps), Resolution and Framerate fields are displayed, but inactive - the application Smart Encoding will determine these values. |
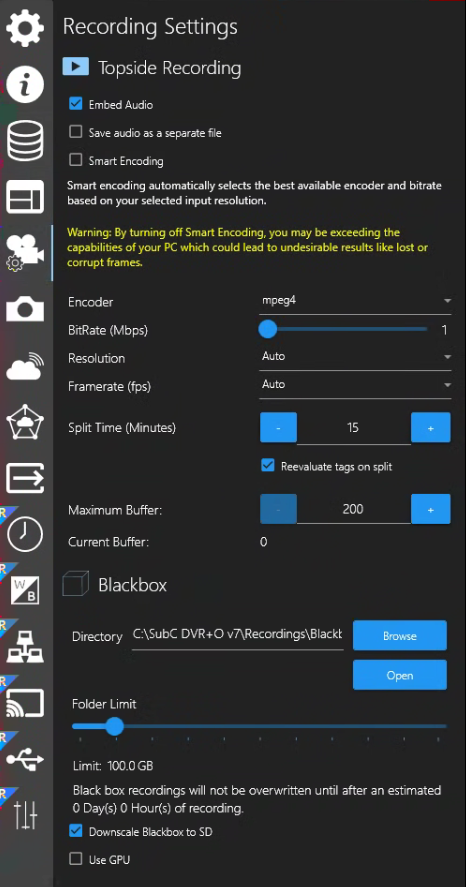 | When Smart Encoding is disabled, the following warning message appears: Warning: By turning off Smart Encoding, you may be exceeding the capabilities of your PC which could lead to undesirable results like lost or corrupt frames. The following fields are available for you to manually select values for these options.
|
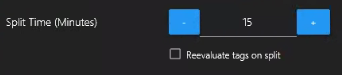 Split Time in SubC DVR+O Multi Channel This Split Time field value pertains to your Channels when Recording in Priority mode - You can set a different Split Time for each of your Channels. However, when you are Recording in Sync Mode, open Folder / File Settings → Split Time (Minutes) - the Split Time that you set here in Sync Mode applies to all active Channels. |
 |
 |
|

Menu → Recording Settings → Blackbox
Directory - Displays the current Blackbox folder
Browse - to open and create/select a folder to store your Blackbox recording files.
Open - open File Explorer in the current Blackbox folder
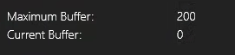
Folder Limit - Move the slide button to set the desired Blackbox folder size limit.
Blackbox recordings will not be overwritten until after an estimated # Day(s) # Hour(s) of recording.
The Days and Hours values will be based on the size allocated to your Blackbox folder.
Downscale Blackbox to SD - Downscale from HD (High Definition) to SD (Standard Definition)
Use GPU - Select to utilize the system GPU (Graphic Processing Unit) rather than the system CPU (Central Processing Unit)
See Section Record & Framegrab section